Post by kalkamel on Sept 12, 2007 16:32:32 GMT 8
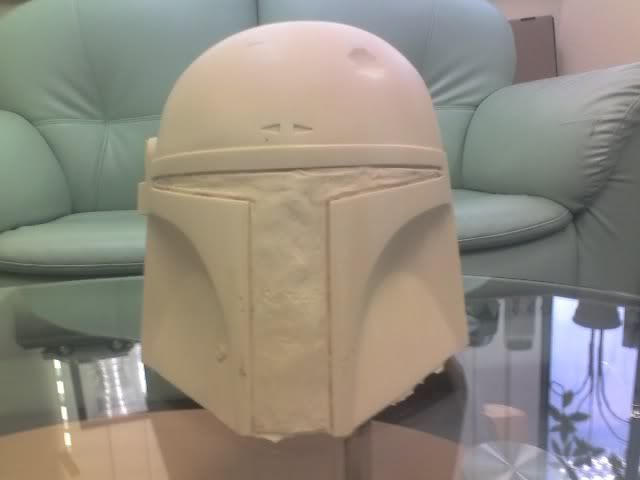
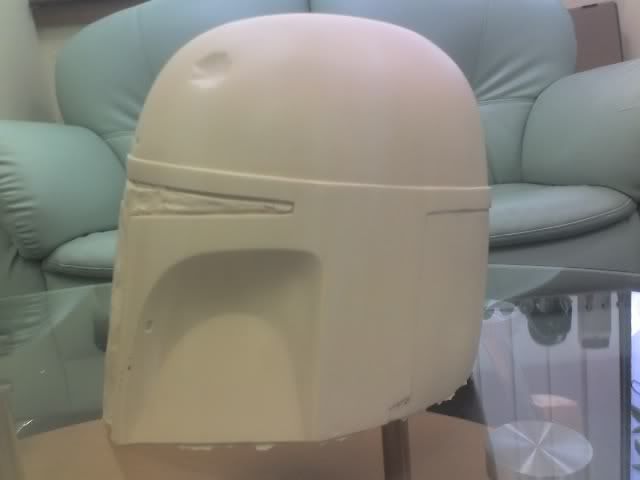
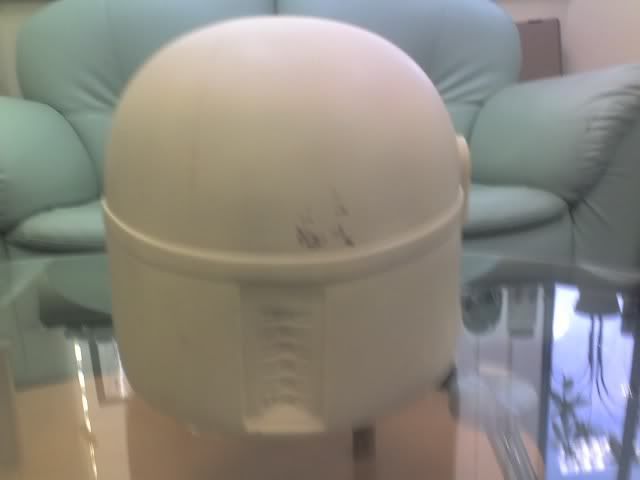
Hey gang, as you recalled in a previous post, I had acquired a Boba Fett Mystery helmet from SgtFang in December last year. Here's how it looks like out of the box:
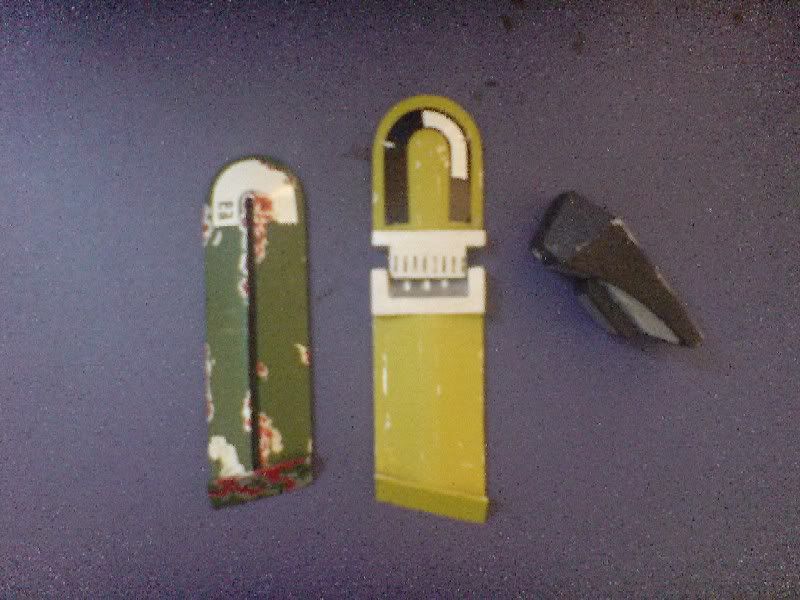
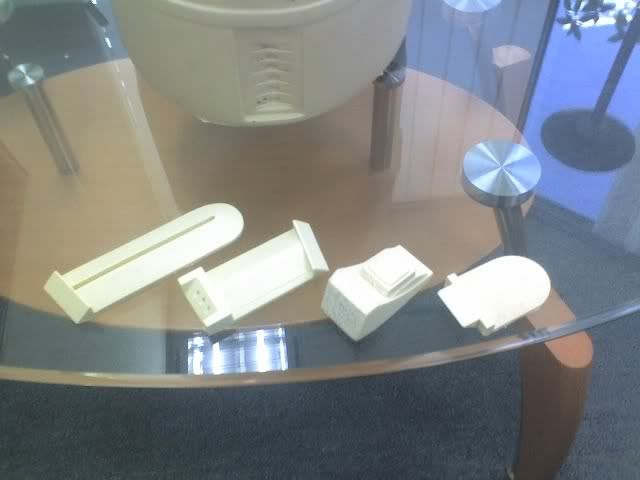
Here's a pic of the ear pieces and rangefinder:
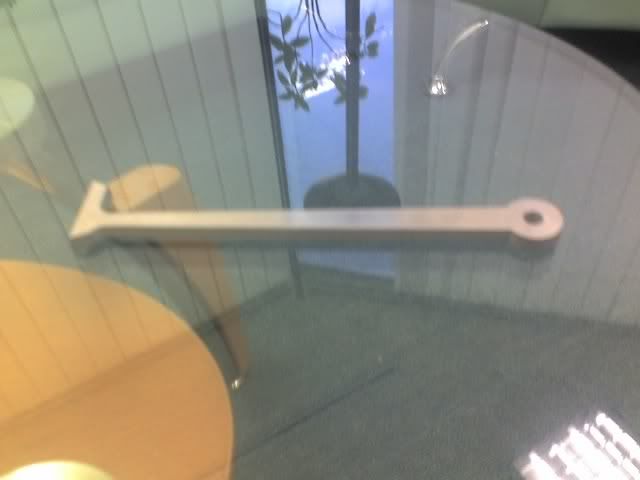
The kit didn't come with any rangefinder stalk so I got mine from BKBT. His is cold cast aluminum:
The lid was very cleanly cast so I just cut out the visor and keyslot holes, sanded it down and cleaned it with warm soapy water. That last stage is important as that would get the mold release off the surface of the resin. Otherwise, paint won't stick properly to it.
I then primed it with Krylon Grey primer. And then left it on a shelf gathering dust for over half a year.
A week ago I saw preview pics of the upcoming MR Boba Fett LE/SE helmet and was kinda disappointed. The lid was touted as being scanned off of a screen used ESB helmet and the paintjob was aso purportedly based off of that too. That is not true. It was actually scanned off of the Prepro 3 helmet (which was used in pre-production, not used during filming) and similarly the paintjob was also based on the Prepro 3. So some tiny details of the screen used lid were missing from the MR Boba.
So I decided to do some research in how to duplicate the paintjob of the screen used ESB lid to the minutest detail, every scratch and dent and when I had enough reference material I started painting the Mystery helmet (after washing off the dust of course!).
First I masked off the helmet rim, the mandible edges and the keyslots (a lot of masking tape was sacrified during this entire procedure, and many more will share that fate ;D) and painted the whole lid with Tamiya Olive Drab 2 spray paint. As for the back portion of the helmet, I painted it with Tan, then stencilled on the "fjords of Norway" weathering details with a pencil which I then covered with some masking fluid. Once the fluid dried, I sprayed on Tamiya Dark Green. A few hours later I peeled off the dried fluid and voila!... the first level of weathering on the back is done.
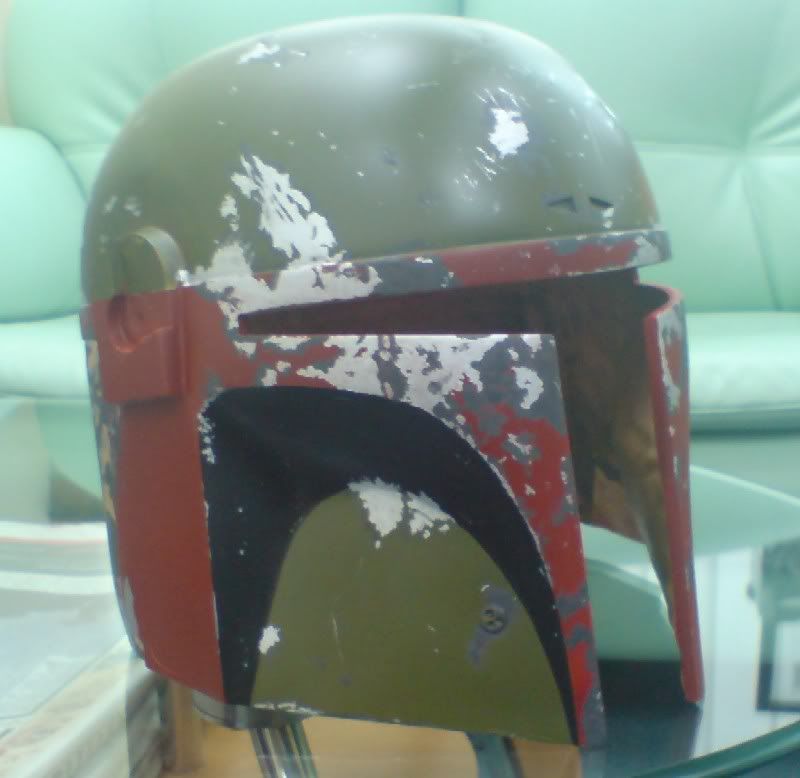
The cheeks were painted with Flat Black and then the final major color application, i.e. the Dull Red on the rims, mandible edges and key slots was painted on. Boba is starting to surface!
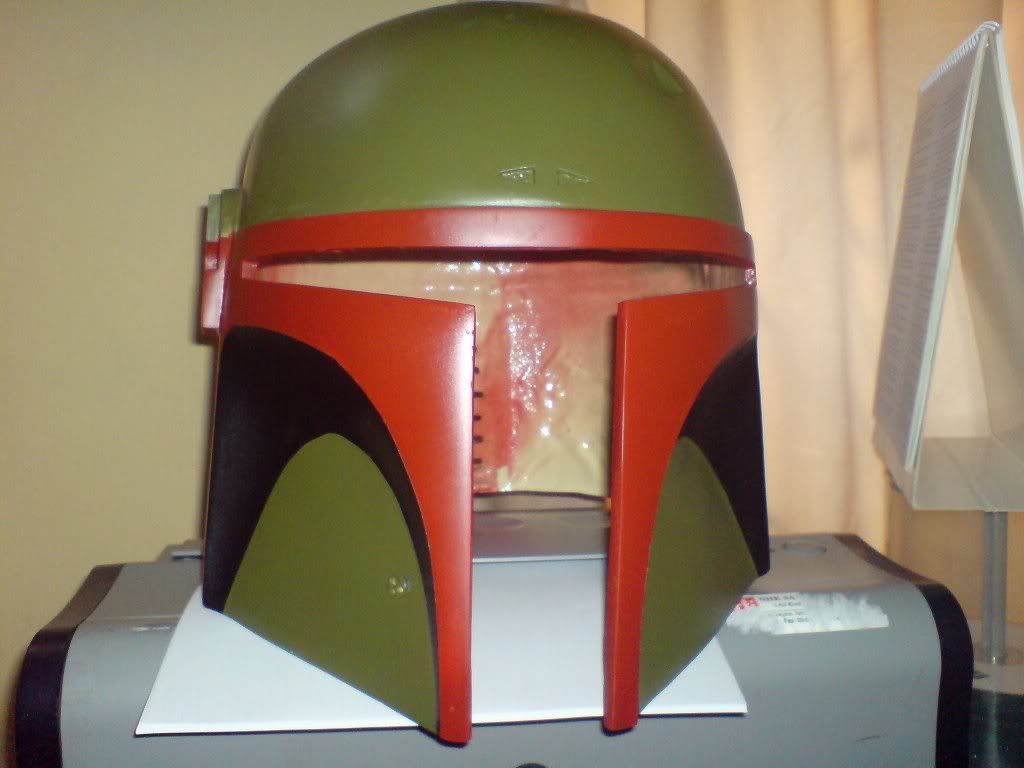
Here's the progress so far:
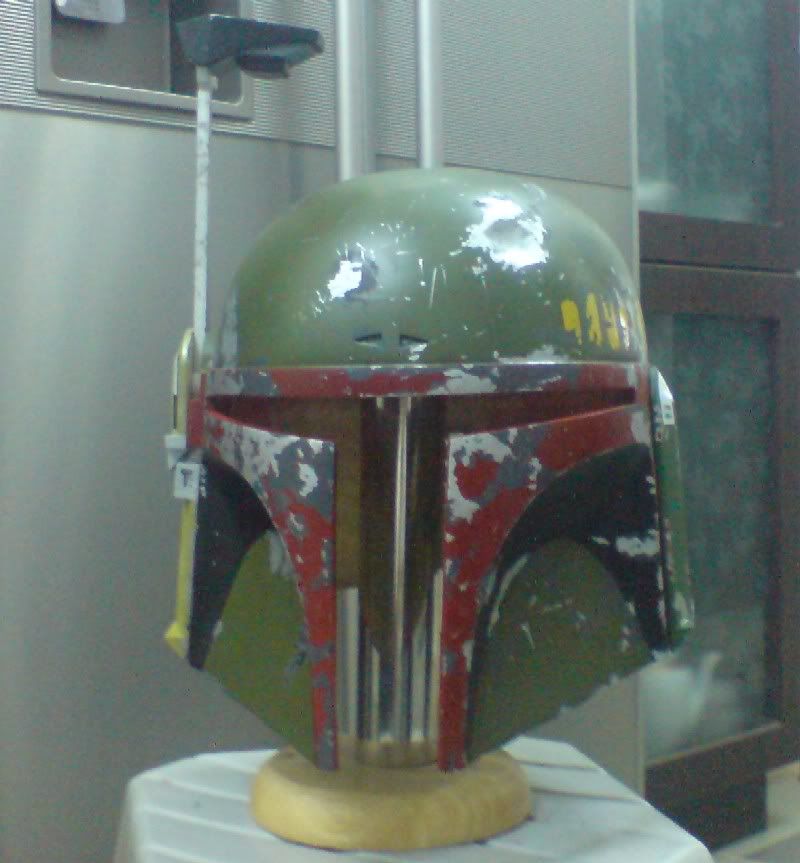
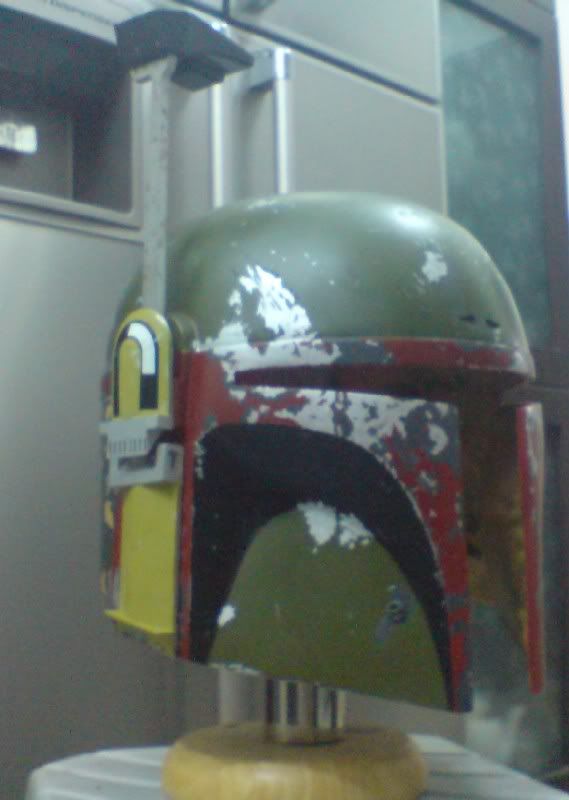
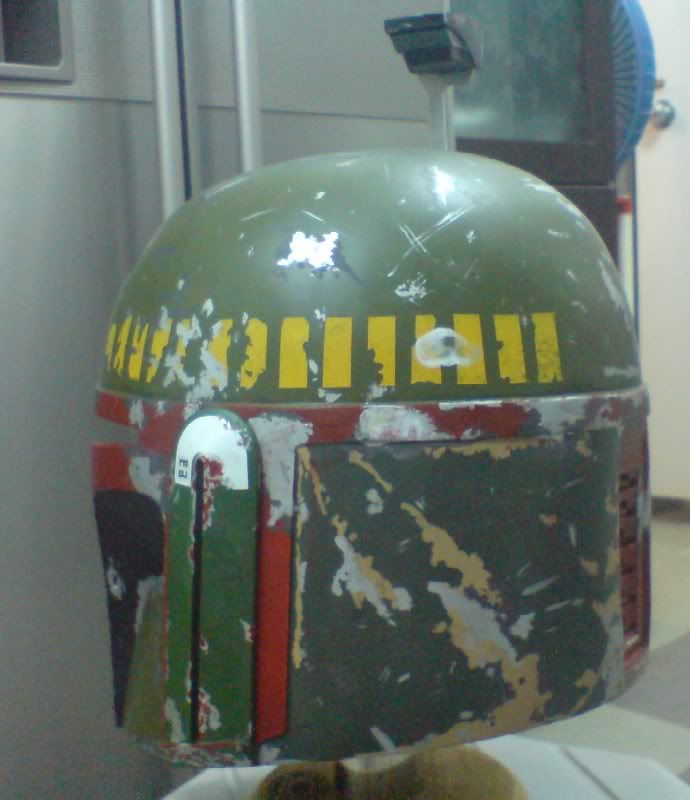
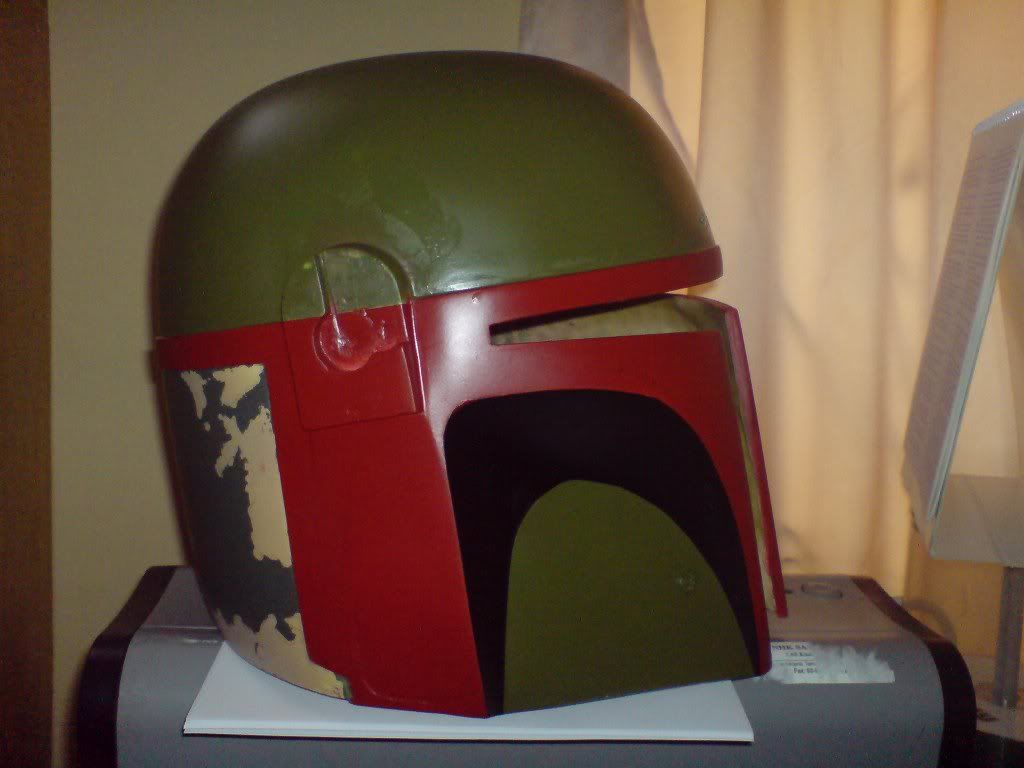
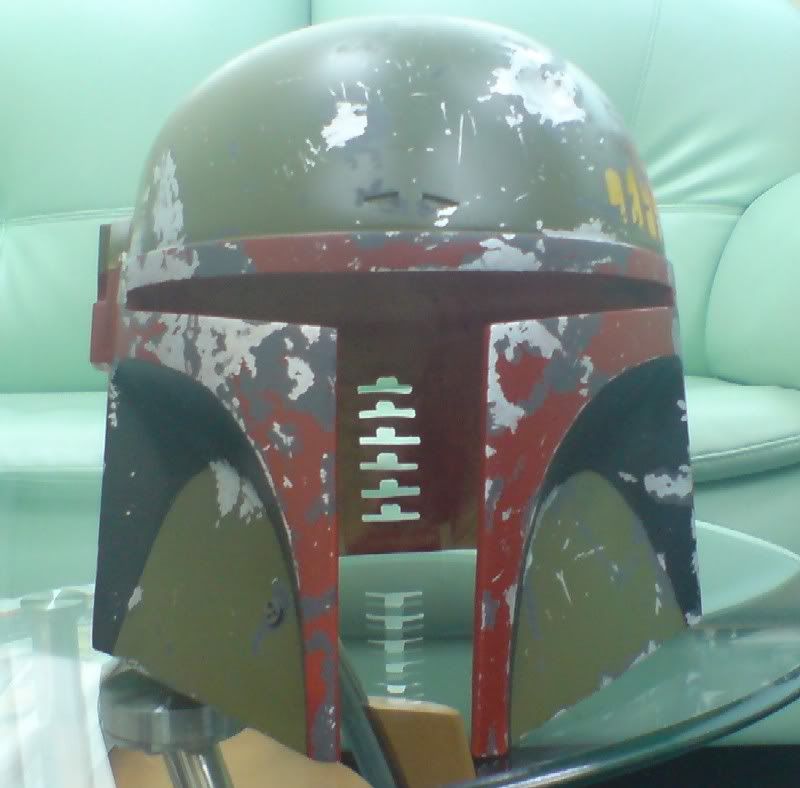
View of the front, all major colors applied:
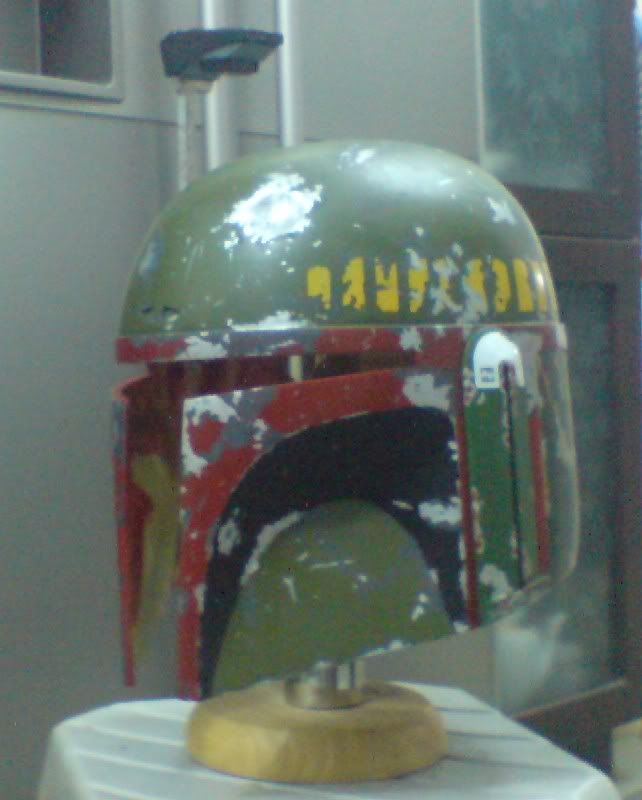
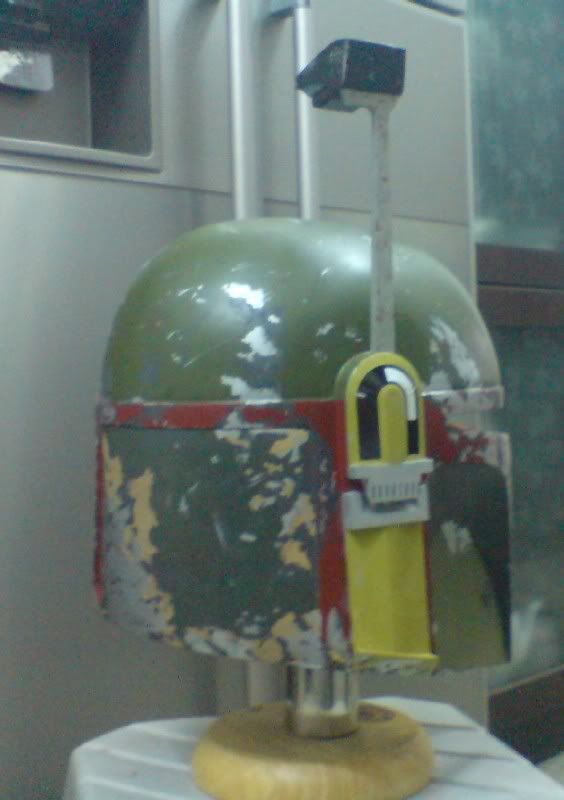
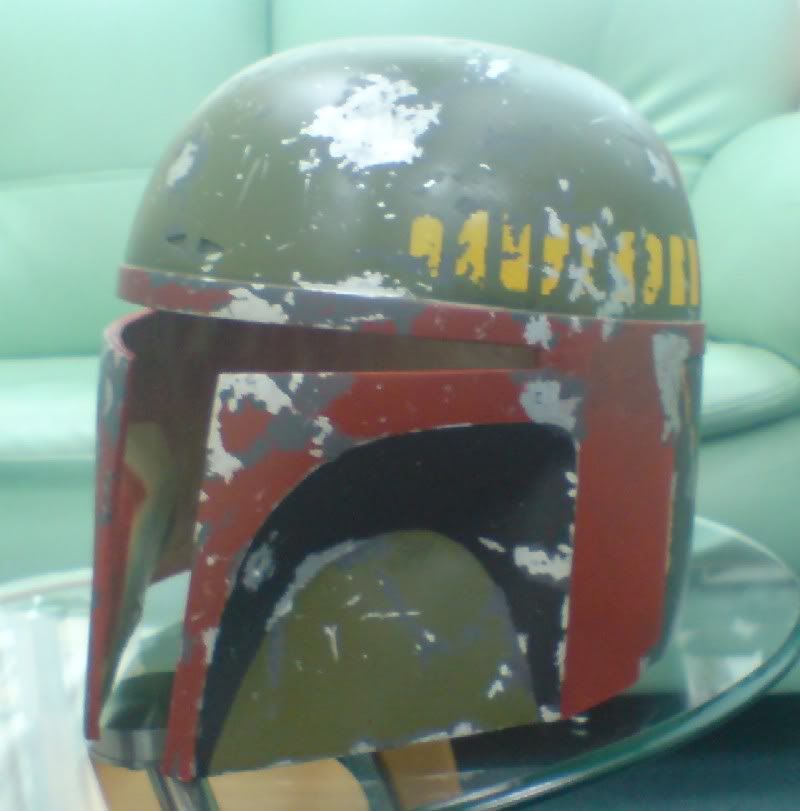
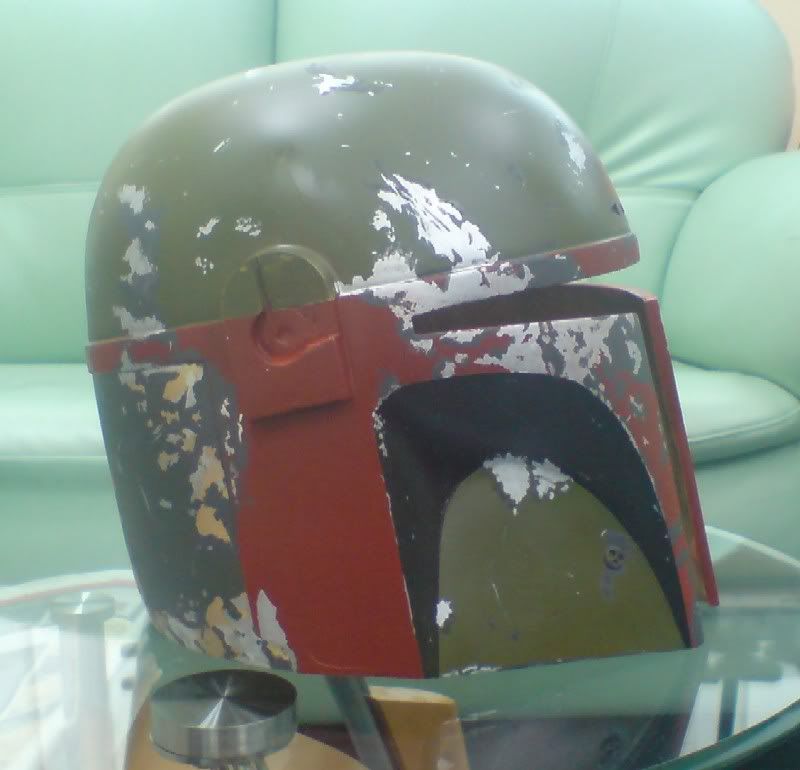
Side view, showing the contract of the Drab of the dome and the dark green at the back:
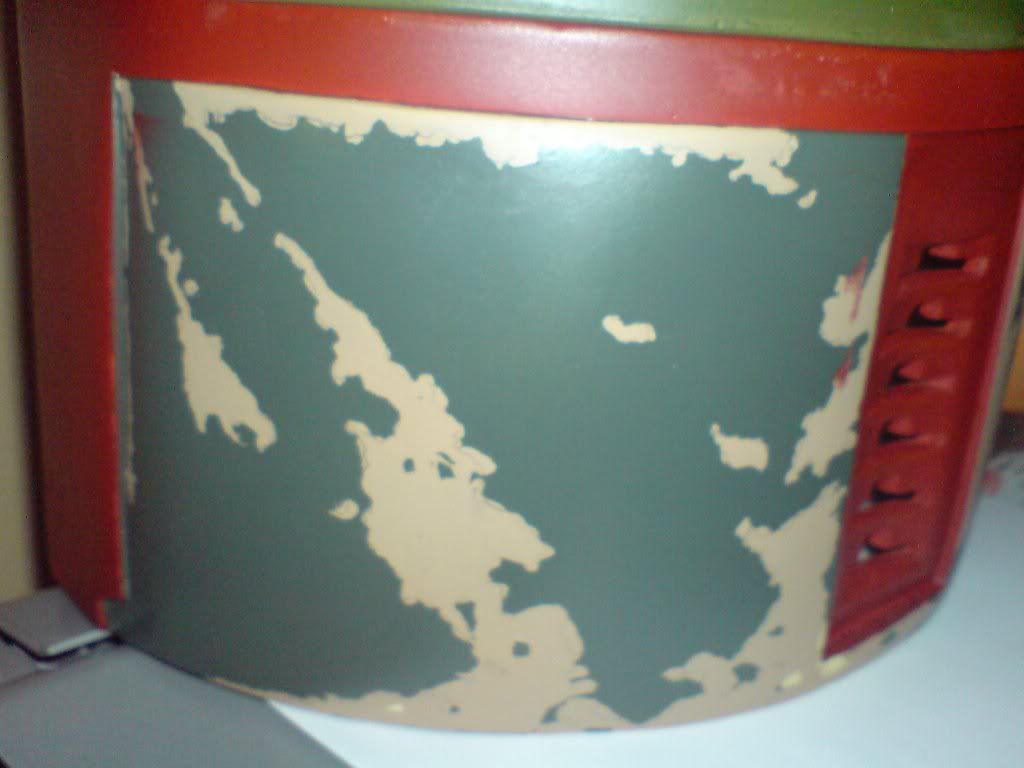
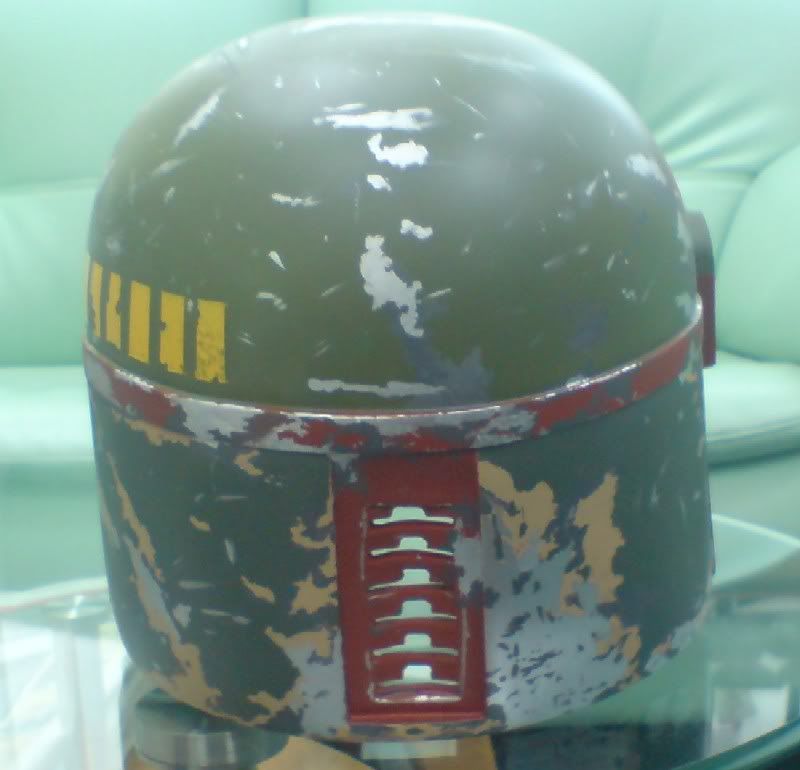
"Fjords" weathering detail on the left side of the helmet back:
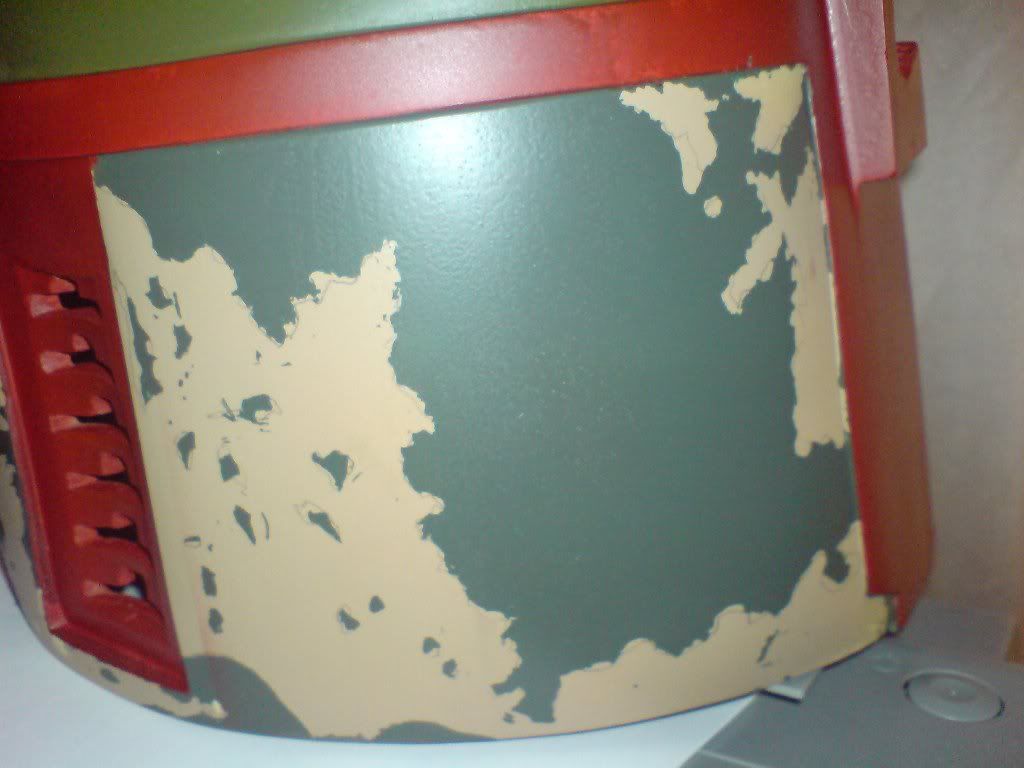
And the right (you can see the pencil marks!):
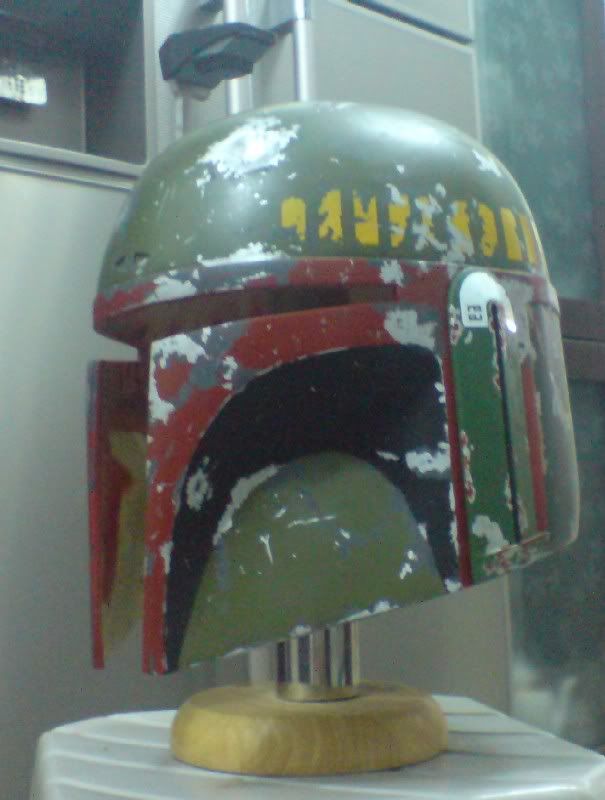
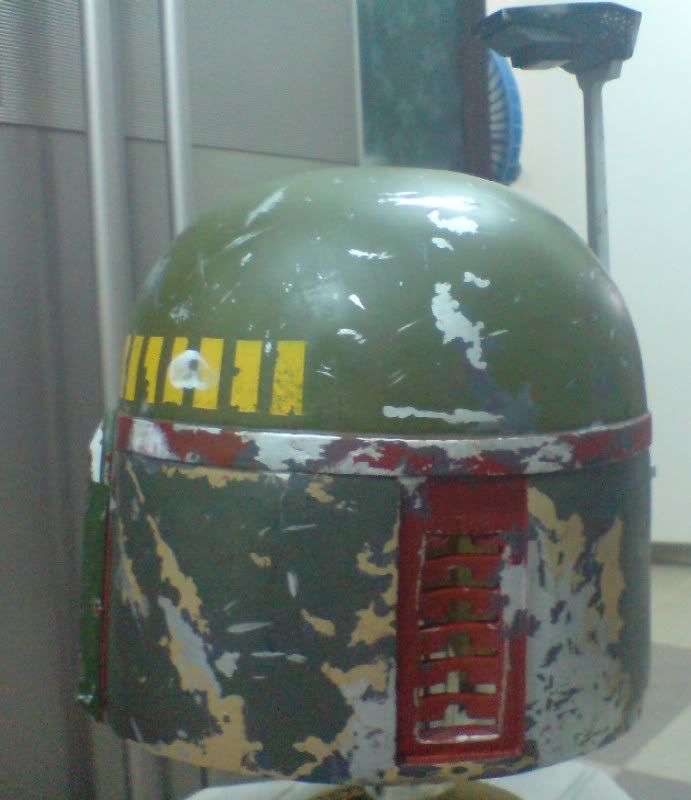
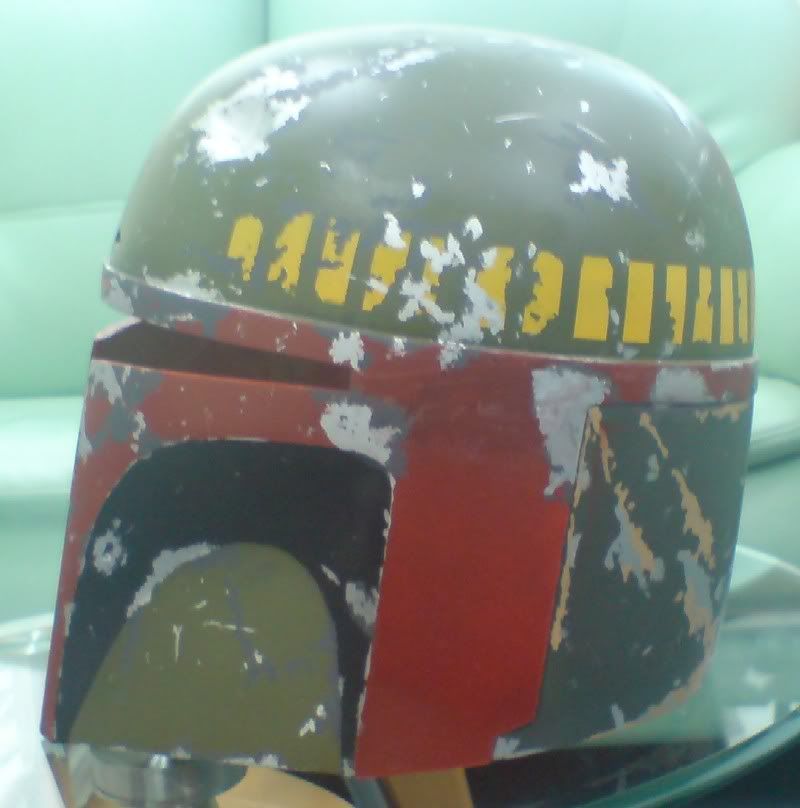
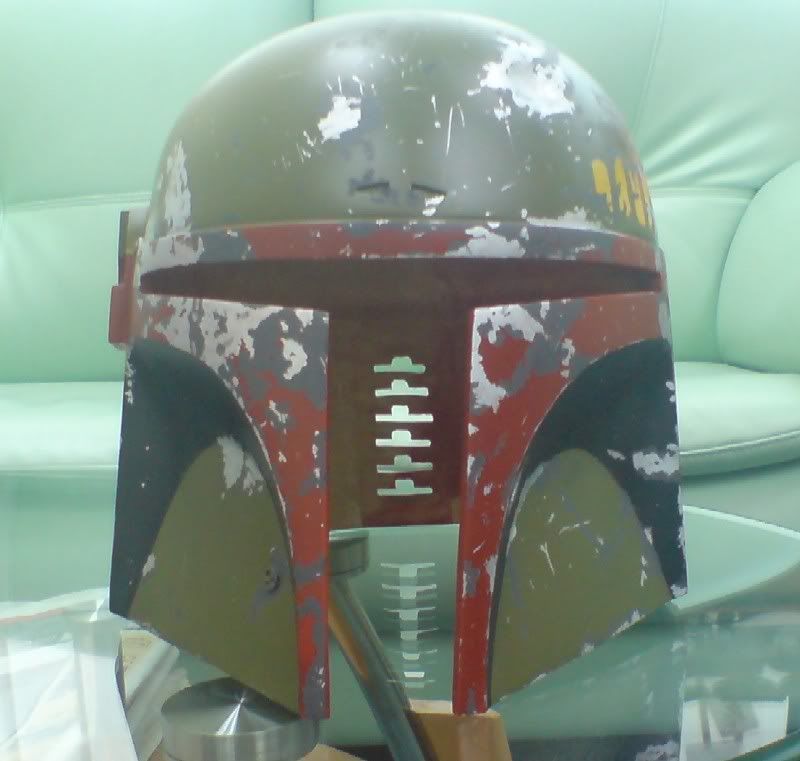
Last night I masked the killstripes (14 for ESB) and painted them Camel Yellow this morning. Later I'll remove the masking and see how it goes!
And then the weathering begins! Woohoo!
Stay tuned...
Here's a pic of the ear pieces and rangefinder:
The kit didn't come with any rangefinder stalk so I got mine from BKBT. His is cold cast aluminum:
The lid was very cleanly cast so I just cut out the visor and keyslot holes, sanded it down and cleaned it with warm soapy water. That last stage is important as that would get the mold release off the surface of the resin. Otherwise, paint won't stick properly to it.
I then primed it with Krylon Grey primer. And then left it on a shelf gathering dust for over half a year.
A week ago I saw preview pics of the upcoming MR Boba Fett LE/SE helmet and was kinda disappointed. The lid was touted as being scanned off of a screen used ESB helmet and the paintjob was aso purportedly based off of that too. That is not true. It was actually scanned off of the Prepro 3 helmet (which was used in pre-production, not used during filming) and similarly the paintjob was also based on the Prepro 3. So some tiny details of the screen used lid were missing from the MR Boba.
So I decided to do some research in how to duplicate the paintjob of the screen used ESB lid to the minutest detail, every scratch and dent and when I had enough reference material I started painting the Mystery helmet (after washing off the dust of course!).
First I masked off the helmet rim, the mandible edges and the keyslots (a lot of masking tape was sacrified during this entire procedure, and many more will share that fate ;D) and painted the whole lid with Tamiya Olive Drab 2 spray paint. As for the back portion of the helmet, I painted it with Tan, then stencilled on the "fjords of Norway" weathering details with a pencil which I then covered with some masking fluid. Once the fluid dried, I sprayed on Tamiya Dark Green. A few hours later I peeled off the dried fluid and voila!... the first level of weathering on the back is done.
The cheeks were painted with Flat Black and then the final major color application, i.e. the Dull Red on the rims, mandible edges and key slots was painted on. Boba is starting to surface!
Here's the progress so far:
View of the front, all major colors applied:
Side view, showing the contract of the Drab of the dome and the dark green at the back:
"Fjords" weathering detail on the left side of the helmet back:
And the right (you can see the pencil marks!):
Last night I masked the killstripes (14 for ESB) and painted them Camel Yellow this morning. Later I'll remove the masking and see how it goes!
And then the weathering begins! Woohoo!
Stay tuned...


 project